Next.js and Tumblr as a CMS Part 4: Open Graph Images
Way back in my first post on using Next.js with Tumblr, I mentioned getting more control over my blog as one of the big motivations for the switch. So, I thought I’d wrap up by going over a couple of the specific things I meant by that: generating Open Graph images and adding syntax highlight to code blocks.
This was originally intended as one post but it got a little long and I’m a little slow so I’ll start with Open Graph images.
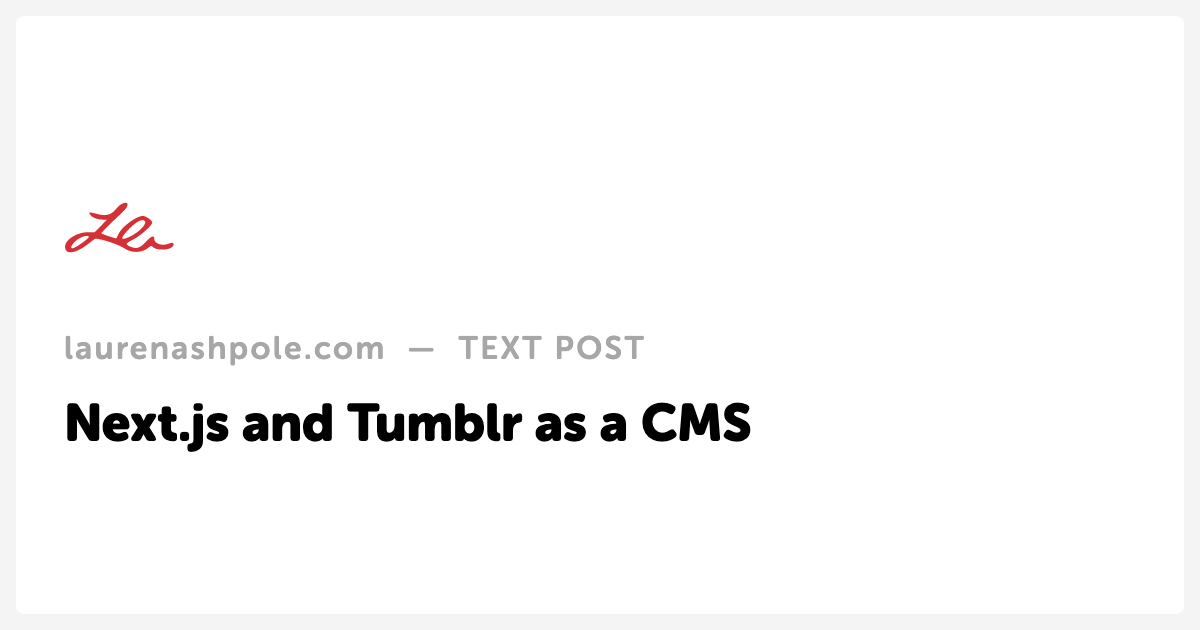
Open Graph images are the preview images you’ve probably seen when sharing a link on a social media site like Twitter or Facebook. By default, Tumblr will display a generic image with the Tumblr logo and some themes might pull in your avatar or let you upload a custom image. However, there isn’t a good way to attach different images to different posts or to dynamically generate them. My goal was for each of my posts to have a unique, text-based image displaying its title or description and type.

There are a lot of good articles on the topic but their instructions didn’t get me exactly what I wanted so I wound up picking and choosing to cobble my solution together. Dynamic Open Graph images with Next.js was so close but it uses next-api-og-image which uses chrome-aws-lambda under the hood and I couldn’t get it to work on Vercel. I even tried the suggestion to install an older version of chrome-aws-lambda but it just wouldn’t deploy. Generate Open Graph images for your static Next.js site generated images during the build process instead of on the fly but it introduced using Playwright which was invaluable. Those two articles were big influences on the code below.
Start by installing the necessary playwright packages:
yarn add playwright playwright-core playwright-aws-lambdaNext, in your post component, add the meta tag inside the next/head block:
<Head>
  <meta property="og:image" content={`${process.env.NEXT_PUBLIC_BASE_URL}/api/og-image?headline=${post.headline || post.summary}&type=${post.type}`} />
  ...
</Head>
Two things to note: 1) for convenience, I store my base URL as an environmental variable so you’ll probable need to replace NEXT_PUBLIC_BASE_URL and 2) we’ll be using query params to pass the post headline and type.
The content URL points to a route we’ll create in pages/api/og-image.js. I’ve truncated a lot of the HTML and CSS since those will depend on how you want your image to look:
const playwright = require('playwright-aws-lambda');

export default async function handler (req, res) {
  const html = `
    <html>
      <head>
        <meta charset="UTF-8">

        <style>
          *, *:after, *:before {
            box-spacing: border-box;
          }

          html {
            font: 8px 'museo-sans-rounded', sans-serif;
            line-height: 1.4;
          }

          body {
            background: #f4f4f4;
            margin: 0;
            padding: 2rem;
          }

          ...
        </style>
      </head>

      <body>
        <div class="og">
          ...

          <div class="og__type">
            <span>laurenashpole.com</span>  —  ${(req.query || {}).type || ''} post
          </div>

          <h1 class="og__headline">${(req.query || {}).headline || ''}</h1>
        </div>
      </body>
    </html>
  `;

  if (process.env.NODE_ENV === 'development') {
    res.setHeader('Content-Type', 'text/html');
    return res.end(html);
  }

  const browser = await playwright.launchChromium({ headless: true });
  const page = await browser.newPage();
  await page.setViewportSize({ width: 1200, height: 630 });
  await page.goto('about:blank');
  await page.setContent(html, { waitUntil: 'networkidle' });
  const img = await page.screenshot({ type: 'png' });
  await browser.close();

  res.setHeader('Cache-Control', 's-maxage=31536000, stale-while-revalidate');
  res.setHeader('Content-Type', 'image/png');
  res.end(img);
}
Now, if you visit that URL while developing locally, you should see an HTML page so you can inspect and tweak your designs. In production, Playwright will launch a headless browser, open a new page and insert your HTML, and then take and return a PNG screenshot.
And that’s how I set up my Open Graph images. Next time I’ll actually finish the series with syntax highlighting for code blocks.

