Paper Hearts Font Updates
Ugh, I’d hoped to get this out way back in February and really lost my motivation after missing Valentine’s Day. I guess the day before the 4th of July will have to do.
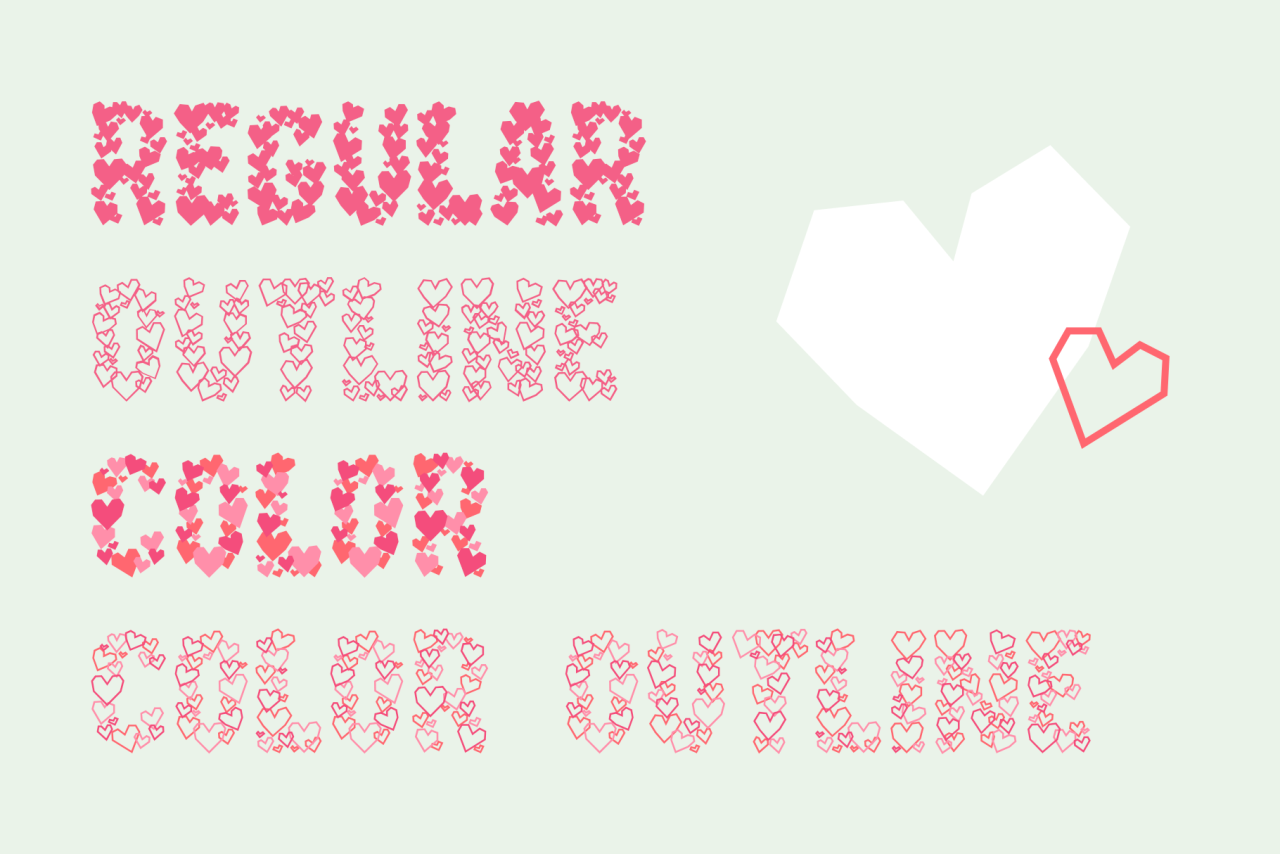
The Paper Hearts font now has improved kerning and three new variations: outlined, color, and color outline. The color files are OpenType SVG and work in all browsers and programs that support that format. Get it here.
It also seems worth mentioning why these updates were taking so long and the lessons I learned. A while back, I switched to the Glyphs App but, after years of using much older software, I hadn’t explored a lot of its features. So I was trying to outline each heart shape manually and taking ages on every character while also not getting the consistent look I wanted. But it turns out there are easier ways! The tutorial How to make a monoline font goes over using the Offset Curve filter to apply an outline to an entire instance and the forum post Apply strokes to all glyphs explains how to use mekkablue scripts to add the same stroke settings across the board. I used the latter for this font and it saved so much time.
Look out for even more outline options! Maybe I’ll do Horseshoes next.